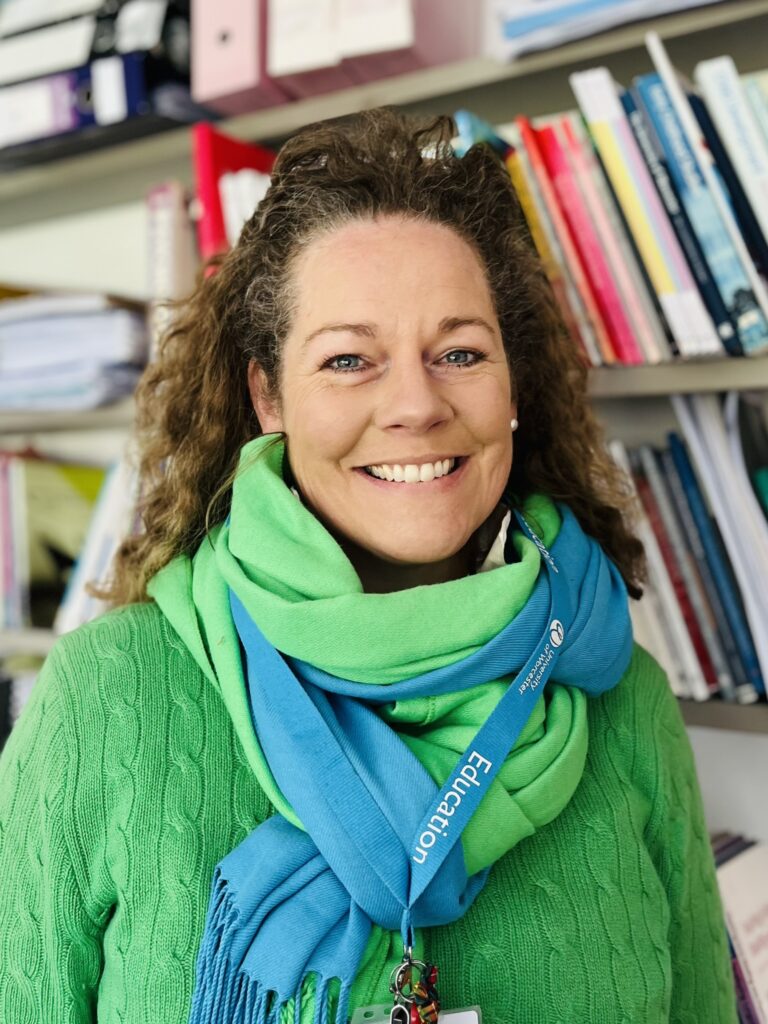
Sarah Hutchins shares her experiences and tips on how to get started with your own social media content.
Resourcing and Equipment
To begin with it is more than likely that you will be able to film content on devices that you already own. I filmed my content on my iPhone (other types of phones will work) and also my tablet. I use an iPad because it works with my laptop and phone and is relatively straightforward and easy to operate, however other types of tablets and handheld devices would work too.
Top tip: Use what you already have, there is no need to invest in lots of new technology to begin with as you can film content on just about any kind of phone or handheld device.
Location and choosing a space to film
When filming you need to think about where you might do this.
Are you planning on having the same space and background in your videos or are you happy for it to be filmed outdoors, in a different location each time? I cleared space in my garden shed and filmed from there. I liked the peace and quiet and it was also very handy to be able to ‘go to work’ when filming content and then to be able to leave it all in situ until I returned to film again.
Top tip: Picking a space away from traffic and noise that you can leave and return to is useful. So perhaps consider somewhere quiet like a corner of your dining room, living room, garage, spare room or an outdoors location …?
Creating your space
Once you have chosen where you might like to film it is then helpful to think about the background where you will be filming. I transformed my garden shed into a mini film studio. A blank canvas that set the scene for the videos I wanted to film. This involved giving the room a lick of white paint to brighten it and then creating a backdrop wall to sit in front of while I filmed my content. My backdrop was a painted white wall and I made a series of handmade colourful collage pictures which I mounted on the wall. These pictures are fun to look at and act as a small continuous feature in the background of all my videos. Equally you need to think about what works for you – you might want to go with neutral shades and tones on the wall or something vibrant and different altogether!
When you are thinking about the areas in which you will film your content, you might want to think about your ‘static’ background props too. In my videos I sit in the same chair and I have a whiteboard that I use for my phonics videos which is lit round the edges with fairy lights.
Top tip: Take a photo of your film background to refer back to for continuity purposes. Put little tape markers on the floor/wall so you will know exactly where your ‘fixed’ props need to go if you find you ever need to rearrange your video background for any reason.
Lighting
Once you have thought about the location and filming space it might be worth considering lighting. Do you have enough natural light within the space that you are filming in or do you need to add extra lighting? To help create a ‘studio’ lighting effect and brighten my appearance while I was filming, I bought three inexpensive B&Q desk lamps (they cost £5 each). Before filming I experimented with the angles and direction in which they shone. I eventually settled on one to provide ‘up lighting’ (placed on the floor in front of me) and two either side to provide ‘cross’ lighting.
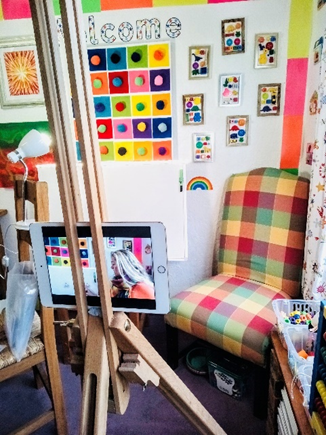
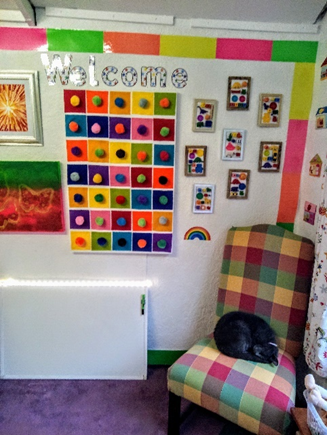
The photos show my garden room space (and sleeping cat!) with colourful homemade art on the walls. You can also see my art easel, iPad and angle lamps!
Top tip: Because I was filming on my iPad (relatively low-tech!) this simple trick of adding extra lighting with angle poise lamps enhanced the quality of my videos by making me appear sharper and more in focus.