Sarah Hutchins shares her experiences and tips on how to get started with your own social media content.
Advertising your content
Once you have created and edited videos to make content which is ready to upload your next step will be to think about the type of posts you are going to make to let people know you have got something exciting to share with them.
When you design your posts, you might want to consider:
- How will people know where to find your content?
- Providing a link or a QR code to scan may help people access your content.
- Will you be adding hidden accessibility text and descriptions for your images?
- When will you upload your posts about your content?
- Will you be posting on the same day and at the same time each week?
- What will be the frequency of your posts?
- Have you thought about a posting schedule? (most Social Media platforms have this function)
- Who will you share them with?
- Are you just sharing via social media or are you sending out emails to people also?
- Will you ask friends, family and colleagues to share your posts to support your content?
Designing your artwork
Once you have worked out how to film and stitch together your content, you might want to consider how you will make the artwork for your videos and also your Social Media advertising posts.
- What is the colour scheme you intend to use on your posts?
- Loud, bright colours, bold or perhaps monotone colours?
- What will the text font look like that you use for your artwork/Social Media posts?
- Is your text size, shape, contrast and colour easy to read?
- Will you use just an image or photographs?
- Do you need to give credit for the images you use?
- Will you write a few words and include a weblink to your content?
- What will you say and how will you say it to attract your audience?
- How much text are you going to write to tell people about your content?
- Will you use a written summary of thoughts to share your ideas?
- What about statements or bullet points to catch people’s attention?
Using PowerPoint in Office 365 to create artwork
I have found PowerPoint (a Microsoft Office application) to be an extremely useful and simple was of creating the artwork and posts that I want to use to share my content on social media. It gives you lots of tools all in one place and is relatively straightforward to use. You can create a slide for each video or post and work on the content on that slide. It also means they are kept in one handy place. Did you know that in PowerPoint you can:
- Create personalised images and logos through importing and layering photos and text.
- Select and use many different styles of font.
- Edit the size and colour of your text along with.
- Move the location of text to appear ‘all around’, ‘on top of’ or set it ‘within’ an image (like a photograph or a picture).
- Create and resize images quickly.
- Add layers of multiple images together or beside each other in collage format.
- Use the snipping tool or the screen shot function allows you to capture your ‘finished’ social media post.
An alternative app that works well is PicCollage – a picture collage app available on phones, tablets and computers. However, unless you subscribe to it (with a paid package) the artwork you produce will have the PicCollage watermark on it.
Thumbnails
PowerPoint a great way of making and resizing video ‘thumbnails’ quickly and efficiently. Thumbnails are small pictures designed to show visually what your content is about. Thumbnails give a snapshot and are the first taster of the content you are sharing/uploading. When people scroll through social media on Facebook/ X/Twitter/YouTube or another Social Media platform they can click on the thumbnail of your content in your post to then access the actual content you have created.
- They are just like a photo only their size and resolution are much smaller.
- You would use a normal sized phot or image that you have created and then resize the image to make it smaller.
- Usually, thumbnails are between 1280 x 720 pixels up to 2 MB. This makes them easier and quicker to upload as the file size is much smaller.
- Most images are acceptable as either jpeg, gif or png files.
- You can use them when you ’post’ an update about a video/content you have made on Social Media platforms such as Facebook, Instagram or X/Twitter.
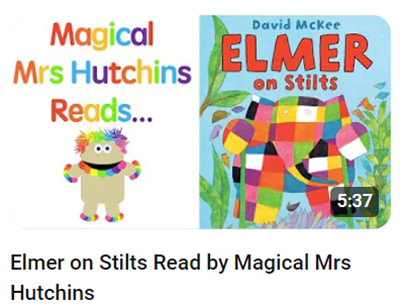
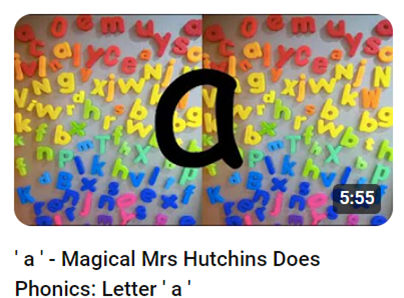
Examples of thumbnails from Magical Mrs Hutchins on YouTube:
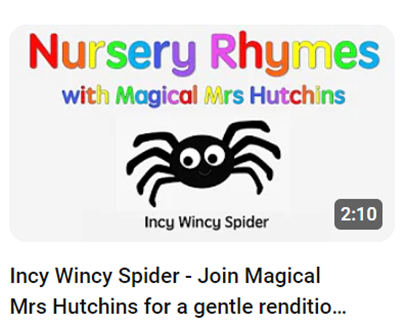
These thumbnails have all been created in PowerPoint.
Each thumbnail was originally designed and made using an entire slide.
You can drop and drag images and photographs and add overlayed text with ease.
Working on a larger scale to begin with makes it easier to see what you are doing, you can then scale down your work.
Once you have come up with your design idea then use the clip and crop tool to take a photograph of your design for your thumbnail.
You might also want to create a labelled folder to store all your thumbnails in.